March 7, 2024
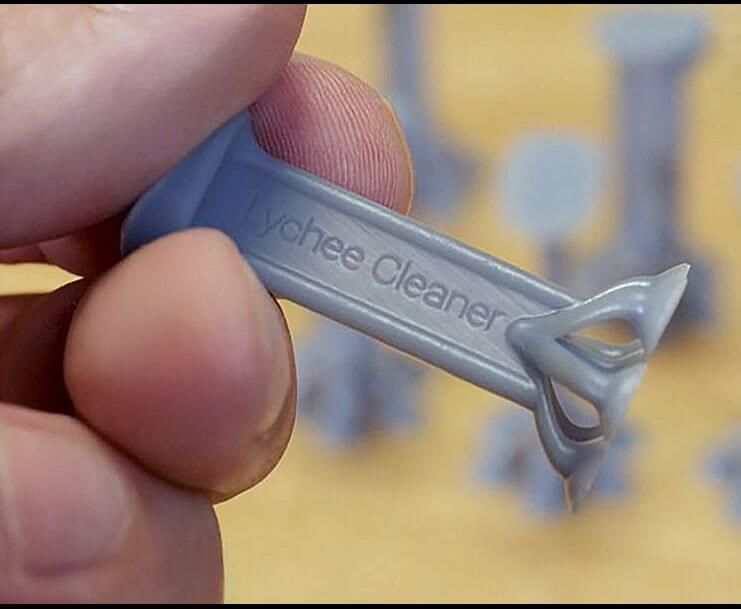
Get the Lychee Cleaner: Quick Resin 3D Printer Tank Cleaning!
Tips
Printing the Lychee Cleaner
It’s a breeze, and the design is meant to be printed directly on the build plate. The Lychee Slicer 3D scene offers multiple instances of the same object. Feel free to print extras!
1. Download the 3D scene below and open it in Lychee Slicer.
2. In your resin settings, you must set the layer height to 100 microns (0.1 mm). This is a strict requirement for proper printing. Loading a community resin profile is also highly recommended, as it helps you find optimal settings specifically for this resolution.
3. The Lychee Cleaner is disposable (sniff!), so there’s no need to use high-quality resin.
4. No anti-aliasing during export/slicing – this is mandatory, as the small pixel patterns it preserves help the print adhere better to the resin film in the tank.
5. Start the print… bzz bzzzz bzzzz bzz (x411 layers!).
6. Carefully remove the Lychee Cleaner from the build plate: there’s a small notch underneath, facing outward, to insert a spatula and gently pry it off.
7. Cure it under UV to ensure the Lychee Cleaner becomes rigid and its textured pads maintain their shape over time.
8. Now it’s ready to be used… for your next failed print (hopefully in the distant future, or never)!
Using the Lychee Cleaner
Follow these simple steps for successful resin tank cleaning using the Lychee Cleaner:
1. Raise or remove your build plate to prevent interference.
2. First, locate the corner of your screen at the bottom of the tank. This is crucial! Use a flexible silicone spatula (like a kitchen scraper, flat with an angle, it works better) to scrape a corner and find a screen corner gently. It’s usually NOT located at the tank’s corner but slightly offset (more or less).
3. Place the center of the Lychee Cleaner on this screen corner. The goal is to have pads over the screen and some extending beyond.
4. Apply only gentle pressure to insert the Lychee Cleaner; a light press is sufficient. Pressing too hard could potentially scratch the film (that’s not the intention!).
5. Activate the tank cleaning function, often named “Clean”, “Clean Tank”, “VAT Cleaning”, or “Screen Exposure”, for 20 to 30 seconds. All resin 3D printers feature this function.
6. If the Lychee Cleaner is properly positioned, it will fuse with the solidified resin layer at the bottom of the screen. Tilt it towards the screen center while gently lifting upwards – the corner should detach, leaving the solidified resin layer ready for removal.
7. And there you have it! Before discarding, expose the resin layer to UV light to render it inert. Your tank bottom should be free of any adhered debris!
Download the Lychee Cleaner
We encourage you to share these instructions rather than the download file itself with others (especially as updates may occur)!
Important Notes on Resin Tank Cleaning
While the Lychee Cleaner is incredibly useful, it doesn’t do it all, and in some cases, it might not be sufficient on its own. Please read these notes carefully:
- For prints with extensive debris at the tank bottom (not just flat bits), we strongly recommend using a paper paint filter to strain your resin. If solidified resin chunks remain in the tank that the “Clean Tank” function hasn’t captured (perhaps located outside the screen area or in suspension), they might get pressed against the screen during the next print, causing damage to the screen and the bottom film.
- If you have substantial debris adhered over larger areas, consider using multiple Lychee Cleaners for different corners.
- Feel free to gently slide a soft plastic / silicon spatula under the layer as you detach it; this can enhance effectiveness.
- Never use hard plastic or metal spatulas inside your resin tank!
If you want to discuss these topics with us, join our Discord server and chat with the Lychee Slicer team and community.
Warning: The Clean Tank solution is intended only for minor print failures. In cases of major print failures, it is mandatory to filter the resin. Unfiltered resin may contain debris that can float in the tank or stick to its edges, potentially causing damage to the FEP film or LCD screen during resin mixing.